Tuesday, February 10, 2015

OOTD 2/10/15


Hi everyone! Here is fun look I wore to a private shopping event. I have been loving the fur vest trend so of course I had to blog an outfit with mine! 

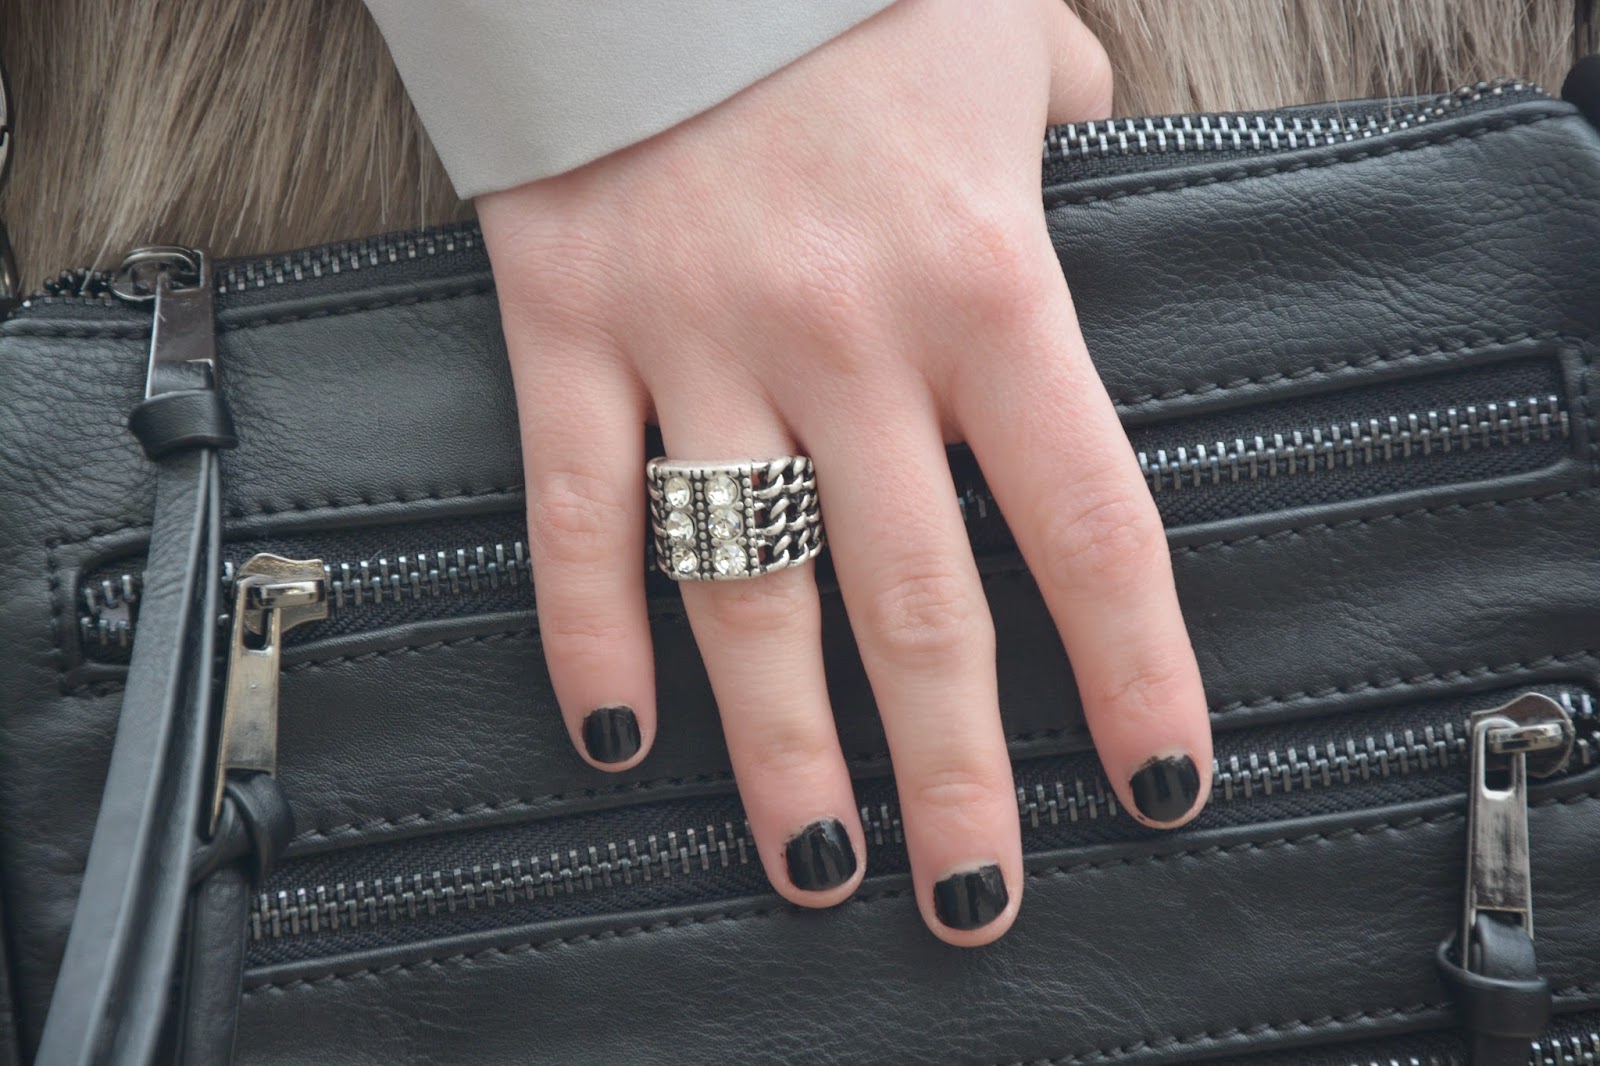
Also all the jewelry I am wearing here is from Premier Designs! I have loved their jewelry for years and am so excited to offer you 25% off your purchase! Find out how at the bottom of this post!


Where can I purchase this?
{click on store name for the link}

Top: TJ Maxx 
Fur Vest: Chic Wish
Leggings: Lysse
Heels: Nordstrom Rack   
Crossbody Bag: Charming Charlie


Premier Designs Jewelry:

Necklace: Grand Entrance
Bracelet: Zig Zag
Ring: Grand

Want 25% off amazing jewelry?!

The access code is LOOK
When placing an order mention "Keira's Blog" and get 25% off the retail price!

Any questions?? Email Teresa at teresahindman@yahoo.com


Hope you all enjoyed this post!

Don't forget to follow me on instagram @keiranicoleblog


Monday, December 29, 2014

New Year's Eve Makeup Look


It's almost time to ring in the new year! And what's New Year's Eve without a little celebration right? So while you're planning your party outfit here's a little inspiration for a fun makeup look!


Products Used:

{Face}

Foundation: True Match Lumi Foundation (L'Oreal) & 
Your Skin But Better CC Cream (It Cosmetics)
Concealer: Lightest shade in Shade Play Palette (Em Cosmetics)
Setting Powder: Bye Bye Pores Silk HD Anti-Aging Micro Powder (It Cosmetics)
Bronzer: Hoola (Benefit)
Blush: NYX
Hignlighter: Hello Light Anti-Aging Powder Illuminator (It Cosmetics)


{Eyes}

Eyeshadow Primer: Original Primer Potion (Urban Decay)
Cream Base: Bare Study Paint Pot (Mac)
Lid Shade: Avalanche (Winter Life: Ice Bunny Palette from Em Cosmetics)
Crease Shade: Khaki & Wisteria (Lorac Mega Pro Palette from Lorac Cosmetics)
Outer Lid Shade: Caviar (Lorac Mega Pro Palette from Lorac Cosmetics)
Lower Lash Line Shade: Deep Teal (Lorac Mega Pro Palette from Lorac Cosmetics)
Liquid Liner: Stay all Day Liquid Liner (Stila)
Mascara: Perversion (Urban Decay)


{Lips}

Lipstick: Wine with Everything (Revlon)


Wednesday, December 10, 2014

Did Someone Say Party??


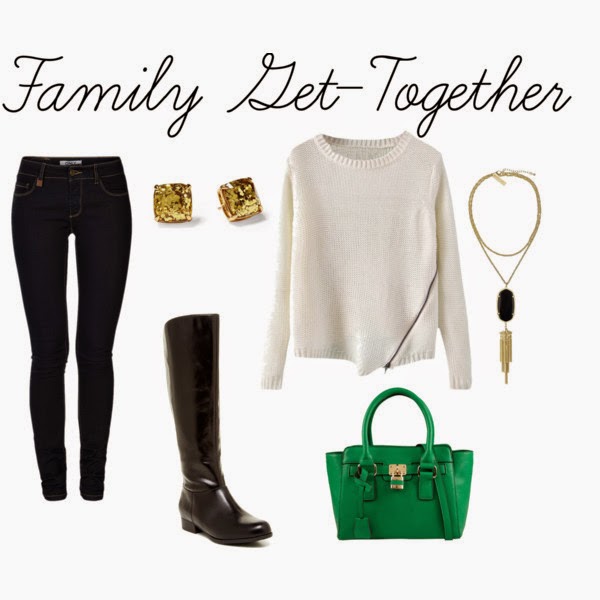
Hello everyone! I know everyone has probably been busy getting ready for the holidays coming up whether it's shopping, decorating, or making plans with friends and family. But you can't forget about the holiday parties! Here you can find some inspiration for your own looks you'll be wearing this season for all sorts of occasions! Enjoy!


Playsuit | H&M
Sandals | H&M
Clutch | Macys
Necklance | Charlotte Russe
Lipstick | Sephora


Sweater | The Ugly Sweater Shop
Jeans | Abercrombie
Booties | Forever 21
Crossbody Bag | Similar Bag
Earrings | Overstock
Necklace | Amazon


Peplum Top | Nelly
Skirt | H&M
Stockings | 6pm
Heels | ASOS
Clutch | Daily Look
Cuff | The Iconic
Earrings | Nasty Gal


Sweater | Black Five
Jeans | Only Carrie
Boots | Nordstrom Rack
Tote | JCPenney
Necklace | Kendra Scott
Earrings | Piperlime


I hope you guys enjoyed these looks and hopefully found some inspiration for your own party outfits! Until next time!


Follow me on Instagram @keiranicoleblog


XOXO

Tuesday, December 2, 2014

My Mascara Products & Review


My Mascara Products & Review: 

Urban Decay's Perversion 
Make Up For Ever's Smoky Extravagant 


Within the past two months I had been experimenting more with mascara. Like ways to apply it, products to use, and even product combinations. The two mascaras I'm going to talk about are Perversion from Urban Decay and Smoky Extravagant from Make Up For Ever. I have both of them in a travel size and have used them both separately and together. However why the look of them is great there are still difference pros and cons.


 Smoky Extravagant from Make Up For Ever | Click Here To Purchase


Perversion from Urban Decay | Click Here to Purchase


Smoky Extravagant from Make Up For Ever was the first one out of the two that I tried. However, at first I was skeptical about the wand shape. I never really liked the slanted ones but I still couldn't wait to try it! I feel as though this does grab every lash and pushes them up as well (Great Volume)! I like to get as close to the base line as I can and slowly turn it to push the lashes up while distributing the product. As great as that sounds there were still some cons as well. I felt it lacked in giving the lashes length, which is important for a lot of women. That's how the second mascara came in!

I had Perversion form Urban Decay just hanging around on my vanity. I hadn't used it yet so I couldn't wait! My first impression wasn't a great one. I used it by itself at first just to try it and did not like it. It was very wet and clumped up my lashes easily. However, I remembered that mascaras typically need to be used a few times before you see their "full potential". Every time you use it the mascara dries out just a bit. After a few uses I realized it was great! It gives volume and length! I love using it by itself! The only con is that if your eye lashes are long enough and touch your skin, then it will rub off a little. You will see faint black lines on the skin. It's very annoying, but easy to just quickly rub off.  Otherwise you are good to go! 

After using Perversion I then started using it with Smoky Extravagant! The combination is great! Both mascaras are great to get the volume I want then the length is amazing once I added on Perversion. I'm obsessed with this combo! 

I hope you guys enjoyed this small review and can't wait to do bigger ones in the future! Thanks you so much for your support!         

XOXO!


Tuesday, November 25, 2014

Foundation Routine: Tips, Tricks & Products I Love!


My Foundation Routine: 
Tips, Tricks, & Products I Love!


          Hello everyone! Here it is... My bare, no makeup face! I wanted this post to be about the products I'm currently using and the tips and tricks I've learned since first starting with makeup. Now obviously everybody has different skin types so some products will work differently on some people. As for me I don't know what skin type I have anymore. As weird as it sounds I use to have dry skin and now it seems to change every few weeks. However, these products I've been using work no matter what my skin is doing that day. And if anyone wants to know, on this day in particular I was more on the oily side. 
              Another thing I can't stress enough is your skincare. To have nice looking skin with makeup on you have to have a nice canvas to start off with. Skin care products are customized for certain problem areas and skin types. Look for the labels or ask a store associate for help finding the right one! This all creates a smooth base for the foundation and other products added on. I always use a cleanser, toner, a treatment for my face, then moisturizer before applying makeup.
               While reading this I'm sure many of you will think I'm crazy for having this many steps and products just for my face makeup. However, this can be used for a night out or special occasion. I just so happen to love playing with makeup and seeing what new things I can do with it! So here are the steps I take in my daily foundation routine! Enjoy!


Step 1: The Hair

-This is very simple! I just use a head band to hold back all my baby hairs!


Step 2: Mixing the Foundation

-I use one pump of It Cosmetics' Your Skin but Better CC Cream, and one pump of L'oreal's True Match Lumi Foundation. I do this because I am the shade in between the two colors (and plus the consistency of the different formulas is great for my skin!).

-I put both pumps on the back of my hand first and mix it with my finger to warm up the product.


Step 3: Applying the Foundation

-Ever since I discovered the Beauty Blender I have been obsessed! It's an egg-shaped sponge that doubles in size when you add water to make it damp. I still use my favorite brushes time to time but the beauty blender is my go-to!

-To apply the foundation I just simply dip the damp sponge into the mixed foundation on the back of my hand and blot my face. It blends everything so easy and gives a great finish!

-Make sure you get under your jawline and blend!


Step 4: Concealer

-My favorite one at the moment is It Cosmetics' Bye Bye Under Eye concealer. However I use it to cover my dark circles, the redness around my nose, and any blemishes. 

- I start by putting just a dot of it on the back of my hand. Then I warm it up by rubbing it with my finger. Then I place some under both my eyes and blend it out as much as I can by patting it with my fingers. I then do the same with the sides of my nose.

-Here the beauty blender comes into play again! I make sure everything is well blended!


Step 5: Translucent Powder

-Now you might use or have seen the typical color powder foundation that will add more coverage. I have tried some, but have never really become a fan of it. With translucent powder it will help my makeup last longer throughout the day without adding another extra color to my face. I also feel the reason most people have "cake face" is from powder foundation, but again it depends on your skin type.

-I always apply this all over my face with a fluffy brush for my face and a smaller brush for under my eyes. Just lightly brush under your eyes and swirl it around everywhere else until you've covered everything. Though you have to be careful to not add too much or in pictures you will be able to see white blotches on your face. It happens! I've been in that situation before and it's not cute.

-I have been recently using the NYX HD Studio Finishing Powder. I'm going to be honest and say it's not my favorite, but it works! I'm in love with the loose translucent powder from Tarte! I just haven't been able to run out and get a new one!


Step 6: Bronzing and Contouring

-This step can be kind of tricky for some people. First let me explain the difference, bronzing is to get a nice glow while contouring is to enhance your features. I do mostly bronzing and slight contouring.

-I switch up the products but for the most part I use Benefit's Hoola Bronzer. It's matte so it can be used for both the bronzing and contouring.

-I start with contouring, and it's weird but suck in your face to make the "fish face". Use a light hand and apply the powder under your cheek bone. Make sure it's blended well. Then for the bronzing I apply it near my hairline on my forehead, and under my jawline. Just use small, light, circular motions.


Step 7: Highlighting

-The best highlighter I've ever used is this one right here! I can get enough of It Cosmetics' Hello Light Illuminating Powder! I use a fan brush and lightly brush it on the top of my cheekbones for a slight glow!


And there you have it! I finished the rest of my makeup and this is the final look! I hope this gave you guys some tips and tricks to use for your own routine!